Friday, October 27, 2017

Friday Inspiration - The Tiny Embroidery of Eira Teufel

I used to embroider a lot - I still love picking up a needle and laying the different colored threads out in front of me, but somehow I don't seem to get to it very often.  And when I see amazing embroidery like that of Russian embroidery artist Svetlana of Eira Teufel, I'm inspired to start a new project!


Svetlana creates beautifully intricate pieces that range from small to impossibly tiny - pendants, brooches, motifs for sewing onto clothing, cufflinks, .... it's truly fascinating.


The German embroidery site Pumora has an interesting and recent interview with her that I highly recommend reading - you can find it here.  And after you get hooked on her work and try to decide whether or not you want to buy a giant magnifying glass and create your own tiny works, you can look at her Etsy store here.  I know I'm looking at those fish brooches!


Happy Creating!  Deborah

Friday, October 20, 2017

October Jewelry Challenges

With September's challenges under my belt, I felt a little more relaxed going into October's ... I don't know, but it seemed like while I had more ideas for these ones, they were harder to actually get to where I was happy with them!

The Art Bead Scene Studio bead challenge was the one I had the hardest time coming up with an idea for - and I even had a head start as the artwork for October was posted in September.  Roccoco is not a style I typically use.  It's a 17th century design movement that is intricate, elegant, and ornate.  There was a lot of use of plant and flower motifs, though, and that does sound like me!


The inspiration artwork was Francois Boucher's 1756 painting, Madame De Pompadour.  Madame De Pompadour was the mistress of King Louis XV and the patroness of Boucher - he painted many portraits of her.  I love the rich colors of this painting, so I decided to take the apricot roses and the teal silk and come up with a bead.  It didn't sound hard, as I had made a few red rose beads for my Day of the Dead update - those were painted with stains on a surface of stain, though, and I wanted to use something along the lines of a majolica technique to get that silkiness.  Long story short, these are try number three and the ones I entered.  It's terra cotta clay under a satin white glaze that I used stains on top of to get color and the roses.


You can see all the jewelry and beads created for October's challenge here.  And when you go look at them, be sure to check out the ads on the right-hand side.  Yep!  One of them is mine - I was actually chosen in a drawing for a free month of advertising!  I don't usually have beginner's luck - thank you ABS!

On to the second challenge.  Erin Prais-Hintz's theme for this month's We're All Ears challenge on Earrings Everyday was .... the harvest moon!  Read about it here.  I thought this one would be easy as last month I made harvest moon pendants and then a handful of small charms to go with them, but I still had to decide on a design.


Actually, I thought that September's full moon was always called the harvest moon, but nope, I was wrong.  It's usually in September but it's the full moon closest to the autumnal equinox, so this year October's full moon fit the bill.  I wear my harvest moon pendant all the time, but hadn't done anything with the charms.  After going through several tries with different beads, I decided I liked them paired with my gourd inspired beads and shell stars, bringing in two of my favorite things about October - it gets dark earlier so you can see more stars and the ripening pumpkins and gourds.  And after several versions that kept getting shorter and shorter ( I apparently do not have a long enough neck to wear the long, dramatic earrings that I love), I decided on this design. 


You can see everyone's harvest moon inspired earrings here.

On to SJDesigns challenge!  Sarajo's husband, Eric, gives her a challenge each month and this month's was a photograph he took of a painted lady butterfly.  We have a lot of them around here during the summer and they're one of my favorites!  You can read about the challenge on her website here.  

Eric Wentling
This is the challenge that stretched my creative thinking the most this month!  It's a gorgeous photo, but after working on butterfly wing shapes last month for the ABS bead challenge, I didn't feel like returning to them.  So I decided to go with the orange and black color scheme.

I've been playing around with some crawling and lichen glazes and there's a black one that's working particularly well - so I used pigments to color a couple of discs and some odd spiral twist beads I made for fun and then glazed them with the crawling black.  


At first I thought, oh my gosh - what am I going to do with these?  They turned out looking so bold - I usually work in the more subtle range and these scream!  And screaming reminds me of Halloween, so I made a dramatic Halloween necklace.  It's sooo different from any other piece of jewelry I own and I love it!!  I used one of the spiral beads, the two ceramic discs, large black crystals, black glass beads, and some rust colored pearls that have been sitting around for a few years.  

.
Check out others interpreted the challenge on Sarajo's site here.

The rectangular rose beads are up in the shop, there are a few harvest moon charms and gourd-inspired beads left, and I did not make more of the orange/black crawl beads but have a listing in the shop for them as Made To Order.

Happy Creating!  Deborah

Wednesday, October 18, 2017

Button Bracelet Tutorial


So, what do you do when you have some buttons you love but can't find a sweater they'd look good on?  Make a bracelet!!  It's super simple - just one skill to practice a bit!  First, gather three buttons, chain, a clasp, jump rings (make sure five of them are big enough to fit through a buttonhole and then through another jump ring), some headpins, and a bunch of beads.  You'll also need needle nosed jewelry pliers, regular jewelry pliers, a wire cutter, and round nosed jewelry pliers.  I thought I was going to be using pearls on these seashore inspired buttons ....


... but after I got to the part where I put them on the bracelet, they didn't look casual enough, so I found these polished tourmaline nuggets that have been sitting around for awhile.  I love how they look like beach glass!


First, take one of your large jump rings and put it through a hole of one of the buttons.  If you haven't used jump rings before, see this past post.


Add a large jump ring to another button and, before you close the ring, hook it through the jump ring of the first button.  And sorry about the ugly bandaid in the photo - I had a run in with a kiln stilt!


It should look like this.


Repeat with the last button ...


... and add a large jump ring to the empty holes on the end buttons.


Measure your wrist - not loosely, but fairly snug.  Cut a piece of chain and add it to the jump ring of one of the end buttons.


Attach the other end of the chain to the jump ring of the other end button.  Don't panic!  It won't stay looking like this!


Find the middle of the chain and open that ring.


Add a jump ring ....


... and the clasp.


It should look like this!


Try the bracelet on - if you like how it fits, great!  If not, add a few links from the extra chain to the non-clasp end to make it a bit longer.


Now comes the fun part!  And what might be a new skill to practice for some of you.  Take one of the beads you want to attach and a headpin.  A headpin is just a piece of wire with a flat end that keeps it from going all the way through the bead.


Put the headpin through the bead.


Take your needle nosed pliers and place them next to the bead.


Make a right angle on the wire and cut off the extra, leaving about a half inch.


Place your round nosed pliers at the end of the wire and use them to bend the wire into a loop, making sure it closes completely.  This seemed like a hard skill before I tried it, but with a few times practicing, it worked!  Not as beautifully as a professional jewelry designer, but serviceable for me!  I take the pliers out a few times, rearrange, and make the wire rounder each time.  Find some cheap wire and practice, practice, practice!!  And if you want to see the technique in action, this short You Tube Video is good.


Here's mine.


Either before you close the loop on the end of the bead (or open it back up if you forget, like I often do), attach it through a chain link on the bracelet.


Keep doing this until your bracelet has the number of beads you want it - I put one on every other link.


If you're looking for some art ceramic buttons to try out on this bracelet (or for sewing with!), there's a new update in my shop of 17 new button sets - and some ceramic jewelry findings based on my forest walks.  Stoneypointstudio.com

Happy Creating!  Deborah

Friday, October 13, 2017

Friday Inspiration - Fiona Rainford and "The Remains"

One of the things I most enjoy when looking at pieces of art is learning what inspired the artist to create it, what went into their process from idea to finished work.  Textileartist.org has a wonderful interview here with mixed media artist Fiona Rainford talking about her piece The Remains, which was inspired by an old woolen mill that a group of artists she was part of was focusing on.

The Remains, 2016

Fiona talks about what first interested her about the mill, shares the photographs she took (which are wonderful studies in textures and form), and tells about her research.  It's especially interesting to read about how what she first was interested in and focused on did not become the subject of the piece she created, but led her to looking at the old machinery parts and cogs.

If you want to see more of Fiona's artwork, visit her website - there's a lot to see!

Happy Creating!  Deborah

Wednesday, October 11, 2017

Many Rivers Shawl and Short Rows

I've been slowly checking off my list of new knitting techniques I want to learn - cables, check, colorwork, check .... short rows.  That was one I was a little worried about!  You hear such stories .... There was this intriguing shawl sitting in my queue for ages before I realized it was done using short rows.  The reviews on how easy it made learning how to do them convinced me to give it a try - and they were right!  The perfect project for first time short row-ers!


The pattern is Many Rivers by Pam Jemelian and is available on Ravelry here.  The pattern calls for (and is lovely in) three colors, but I had a Madelinetosh exclusive Georgia yarn from two years ago (more on this in a moment) I'd been dying to use and another that went well - didn't have a third that I loved with them, so I went with two.  Madelinetosh Sock in Chattahoochee and Lorna's Laces Shepherd Sock Solid in Kerfluffle.


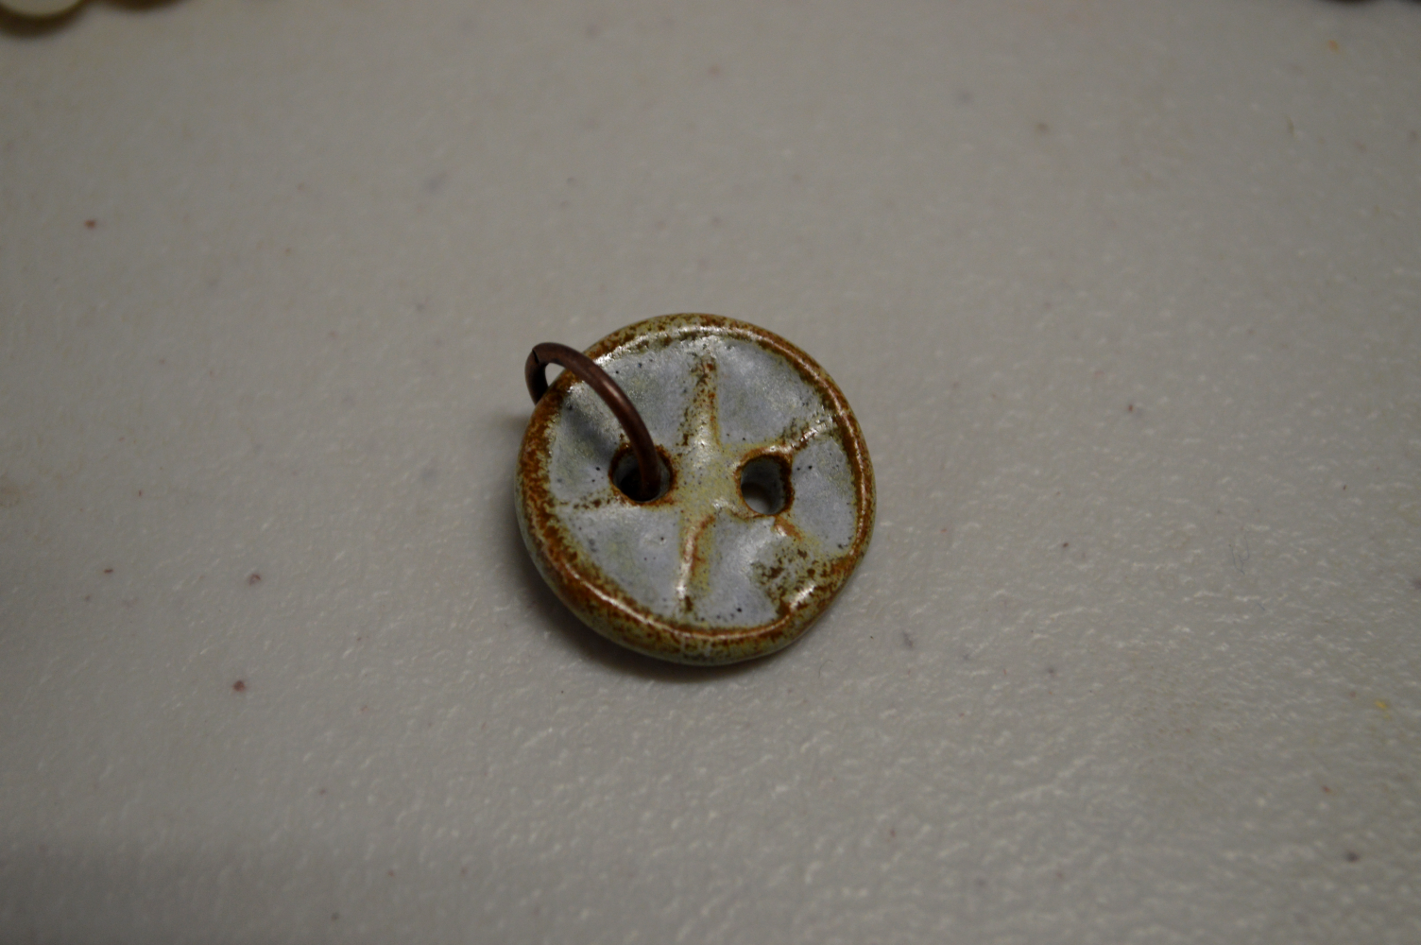
I love the way the motifs look like eddying river water!  Now, more about the yarn - a couple of years ago, Madelinetosh made an exclusive colorway each month based on a Georgia landmark.  This yarn was only available at a Georgia yarn shop, Eat.Knit.Sleep.  Chattahoochee became a permanent exclusive and is still in stock in a few of Madelinetosh's yarns, but I believe all the other colorways are long gone.  This year, Madelinetosh is creating an exclusive colorway each month based on the movie Charlie and the Chocolate Factory to go along with a fun game you can play, earning store credit and other prizes based on the projects you knit or crochet.  Be forewarned - it's addictive!!

Happy Creating!  Deborah

Friday, October 6, 2017

Halloween/Day of the Dead Shop Update


The new Halloween and Day of the Dead beads, pendants, and bracelet spacers are now available in the shop!  Click the button at the top of the page or go to stoneypointstudio.com  

Next up is a big button update in a couple of weeks.  Big update, not big buttons - they're all regular sized!

Happy Creating!  Deborah

Friday Inspiration - Faith Ringgold

Way before I ever realized who Faith Ringgold was as an artist, I knew and loved her as a children's book author.  Her stories are engaging, the illustrations are vivid and intriguing.  These were the days I bought books for my own children and for the schools where I taught preK.

When I began exploring quilting as fiber art I ran across her again - this time as an artist and activist.  She began her art career painting and teaching art in the New York City public schools and campaigning for the inclusion of female and black artists in gallery representation and museum exhibitions.

She began creating the quilts that most people know her by in the 1980's and created the first of her children's books based on her quilts, Tar Beach, in 1991, based on her quilt of that name created in 1988.  It's hard to find an exact count of how many she's published since quite a few are now out of print, but it's somewhere around 19 - 20!


Faith's quilts are intricate narratives of things she wanted to say, in the only way people would listen.   It's hard to pick favorites from among her large body of work (and at age 87 she's still creating!), but two of mine are The Sunflower Quilting Bee at Arles (1996)


and Subway Graffiti (1987).


If you'd like to learn more about this fascinating woman, see her website here and visit ArtNews for a good story about her.  And there is a short, wonderful video featuring her talking about her work on PBS's The Arts Page available here.

Happy Creating!  Deborah

Wednesday, October 4, 2017

Knitting with Sari Silk Ribbon


I've been fascinated with sari silk ribbon for quite awhile and recently bought a few skeins to experiment with.  Mainly I used it in jewelry, but you know that if I have hanks of fiber around for long enough, I'm going to try knitting with it!

I worked up a small swatch - enough to teach me a few things.  First of all, my size 10 1/2 needles were not big enough - the fabric was too tight.  Those giant needles that come in sizes such as 20 and 35 would make the fabric a lot looser, but I'm not a big fan of that super loose fabric.  The bottom portion is garter stitch and the top is stockinette.  As a whole, I like how the stockinette turned out but the rows of garter stitch underneath do add some nice texture.


So the pros - it's really soft.  And it has that beautiful silk shimmer.  And I can see it taking up indigo differently at different spots which could lead to an amazing looking fabric!  The cons - it has knots.  At places, lots of them.  Since I was just experimenting, I pushed the knots to the back but if one was really knitting something you would have to cut on each side of the knots and sew the fabric together.  And you'll have to do that with some of the sewn joinings as they vary between sewn end to end and being sewn with a seam.  Those joins with a seam act a lot like a knot, making a big lump in the fabric you're knitting.


The bottom line?  I'm still intrigued by knitting with sari silk ribbon and see enough promise that I'm going to try using slightly bigger needles to loosen the fabric up a bit and then see what I can come up with for a project, since I wasn't overly fond of any of the ones I found on Ravelry.  I just have to see what a finished, knitted project in the silk does in an indigo dye bath! 

Happy Creating!  Deborah