I spent the weekend making these leaf pins - they take a bit of time to do, but are not really difficult. Now I'll have a couple of nice lapel pins ready for my winter coats!
Materials:
*felt
*two sizes of beads,one slightly smaller than the other
*beading needle
*bead thread
*sewing thread
*Steam a Seam II (either regular or lite)
*embroidery floss
*two sew-on pin backs
*patterns found here
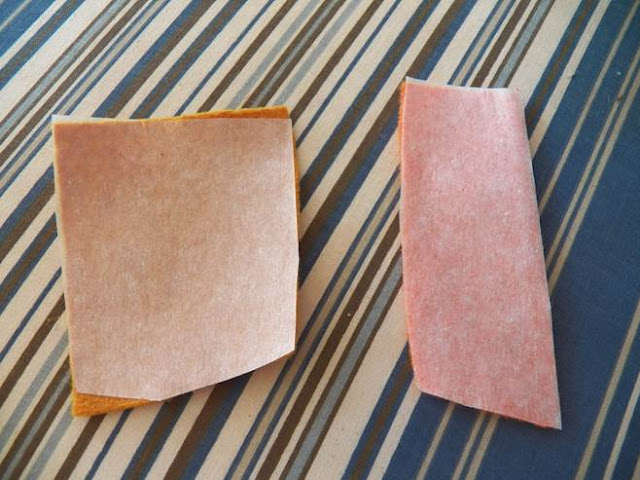
Attach a piece of Steam a Seam II to the wrong side of two pieces of felt - gold and orange. Make sure they are big enough for the inner portions of each leaf.
Rust Colored Leaf:
Cut out inner portion of leaf from orange felt. Peel off Steam a seam backing and iron onto one of the rust colored leaves.
Use gold and tan colored embroidery floss (6 strands) to sew a running stitch as shown below.
With small beads (I used copper colored) - string on four beads and take needle to the back of the leaf.
Put the needle back up through the felt at the first bead. Go through all four beads again.
Continue adding four bead at a time and then going back through those four beads until you have outlined the inner leaf piece. When you go around the corners, you might need to add two or three bead to make a smooth outline.
On the other leaf piece, sew on the pin back using matching sewing thread.
Using matching sewing thread, sew the front leaf piece to the back leaf piece using a blanket stitch.
To make the beaded edging, bring the needle up through the edge. Add on one large and then one smaller bead.
Bring the needle back down through the big bead only. Go down through the felt underneath the big bead and come back up right next to it.
Keep adding beads in this manner. I worked my border in a pattern using three colors of larger beads.
Continue around the edge of the leaf. As you near the spot you began, start spacing your beads so that you can end at the right place in the pattern.
Green Colored Leaf:
Cut out inner portion of leaf from gold felt and iron on to attach it to the front of one green leaf. When cutting this part out, cut along the dotted lines and cut out the portion that lets the green show through.
With cream colored embroidery floss, sew a running stitch around the inner leaf part as shown. Using the same technique as with the rust leaf, sew on green beads as below. After I was done with this pin, I decided it also needed white beads - look at the final picture to decide if you want to do this also - if so, do it now. It'll be much easier to attach them before you sew everything together!
Attach the pin back and then sew the back to the front - see the instructions above.
Sew on a beaded edge, again using the instructions above. As with the first pin, I again used three colors of larger beads to make a pattern.
Happy Creating! Deborah


Thank you for sharing these Deborah .. they are lovely :)
ReplyDeleteThank you so much for this post. I want to let you know that I posted a link to your blog in Creative Busy Bee Craft Inspirations, under the Page 1 post on Oct. 08, 2012. Thanks again.
ReplyDelete