

Well, I didn't quite get my January story quilt block done. We're missing all of the snow and blizzards, but Phoenix is getting some of the cold air. Since we'll be around freezing tonight and down in the mid to low 20's tomorrow night, I spent a large portion of the afternoon covering plants. Luckily I have everything done except the last of the hand sewing, so I can get you started on your squares!
If you're new to this blog, last September I discovered Harriet Power's story quilts and wrote about it here. Her quilts inspired me to make a story quilt about 2011 and I'm hoping that she inspired some of you to make one along with me. I've set up a Flickr group here where we can post our monthly quilt squares and see what everyone else is doing.
Materials:
*various fabrics
*Steam-A-Seam 2
*photographs
*embroidery floss
1. I knew exactly what I wanted to make this month's square about - little c's (my granddaughter) first birthday party! It was a hoot! Her baby cousin, toddler cousin, and toddler twin friends came along with numerous adult family members and family friends. Nobody fell apart, everyone got cake, and present opening was a group affair!
The first thing I did was to make a montage of photos that I thought would help me make a scene from the party.

2. Looking at the photos, I drew a rough sketch. To make things easier, I decided to make each square the size of printer paper. Don't get caught up on your drawings - this is just to plan what goes where, so you can just use labeled shapes if you want.

3. Pick people or objects you're using out of the photos and make them the size they'll be on the quilt square. I find this easier to do on PowerPoint than on Word. Also, I print them out in black and white (when I remember to change the setting) since I'll just be cutting them up.
Cut out each figures and place on the square.

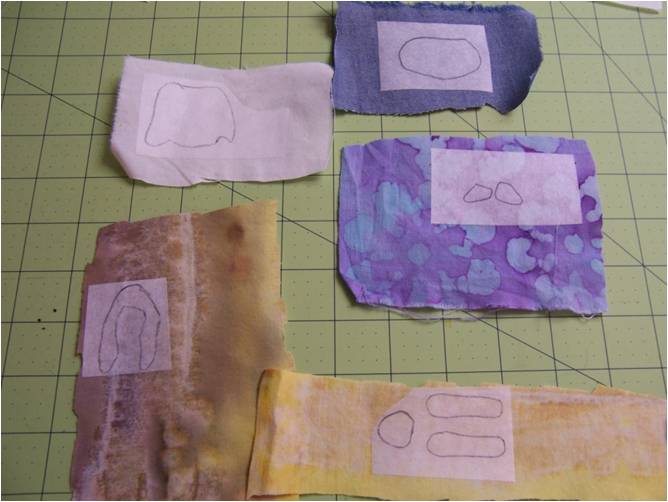
4. Cut each figure into separate parts - I cut out each piece that needs a different color. Trace these pieces onto the side of Steam-A-Seam 2 that has the fixative.

5. Cut apart.

6. Peel off the backing paper and iron (cotton setting for about 5 seconds) onto the wrong side of fabric.
7. Cut out each piece and stick (this is why you're using Steam-A-Seam 2) onto the quilt square. Don't iron into place yet.

8. Continue this way until you have all pieces on your quilt square. This takes a bit of time, but isn't really hard.


After several attempts to make replicas of the cake, cupcakes, and little c's Birthday Girl shirt, I gave up and ran the photos off on photo printer paper. I show you how to use that in this post.
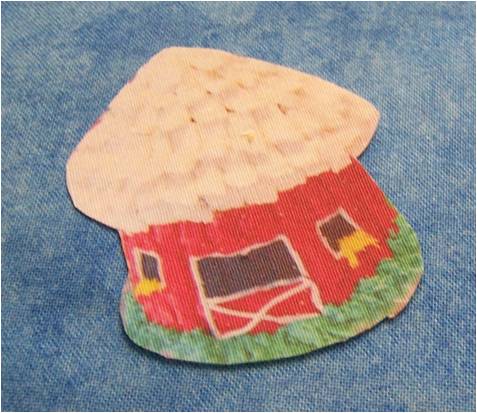
My daughter-in-law made the barn cake and animal cupcakes - aren't they darling?!
When you're sure everything's in the correct place, put a pressing cloth over the top and iron on the cotton setting for about 30 seconds.
9. I'm not planning on having this art quilt be washable, but the edges still need to be finished to give the quilt a finished look. I used hand embroidery stitches - blanket stitching to go around the edges and stem stitching to add in details.
Here's what I have so far. I'll post a photo of my finished square on Friday and also in the Story Quilt Flickr group.

Happy Creating! Deborah
Just a quick note to let you know that a link to this post will be placed on CraftCrave today [03 Feb 12:00am GMT]. Thanks, Maria
ReplyDelete