

I've been in love with the recycled silk ribbon that seems to suddenly be everywhere, but I haven't been able to figure out what to do with it. That didn't stop me from buying some, however! Then, while I was stringing pumpkin bead sets onto small pieces of it, it occurred to me that silk ribbon would make a great necklace! The ribbon is thick enough that the beads stay right where I put them, even without knots. I put a clasp on mine to make it look a little more polished, but they can also just be knotted like in the tutorial from last week on pendant necklaces. You can also refer to that post for how to work with jump rings, if you're new to jewelry making!
First a word about where my silk ribbon came from - I ordered it from Darn Good Yarn. I love the colors it comes in and that it is made by women in fair pay cooperatives in India and Nepal. And no, Darn Good Yarn doesn't pay me - I doubt they even know who I am past my name on a couple of orders!
Materials:
*a little less than a yard of silk ribbon
*a set of beads with larger than normal holes
*sewing needle and thread to match the ribbon
*tapestry needle
*clasp
*two jump rings - one small and one medium
*two jewelry pliers


First, you'll probably want to iron your ribbon to get the creases out - as you can see from my photos, I didn't. The creases aren't visible when the necklace is worn, so if you're lazy like me, who didn't want to go upstairs to use the iron, it's not essential. Next, cut diagonally at the top of one ribbon end. This makes it easier to thread. Don't worry about all those loose strings yet.

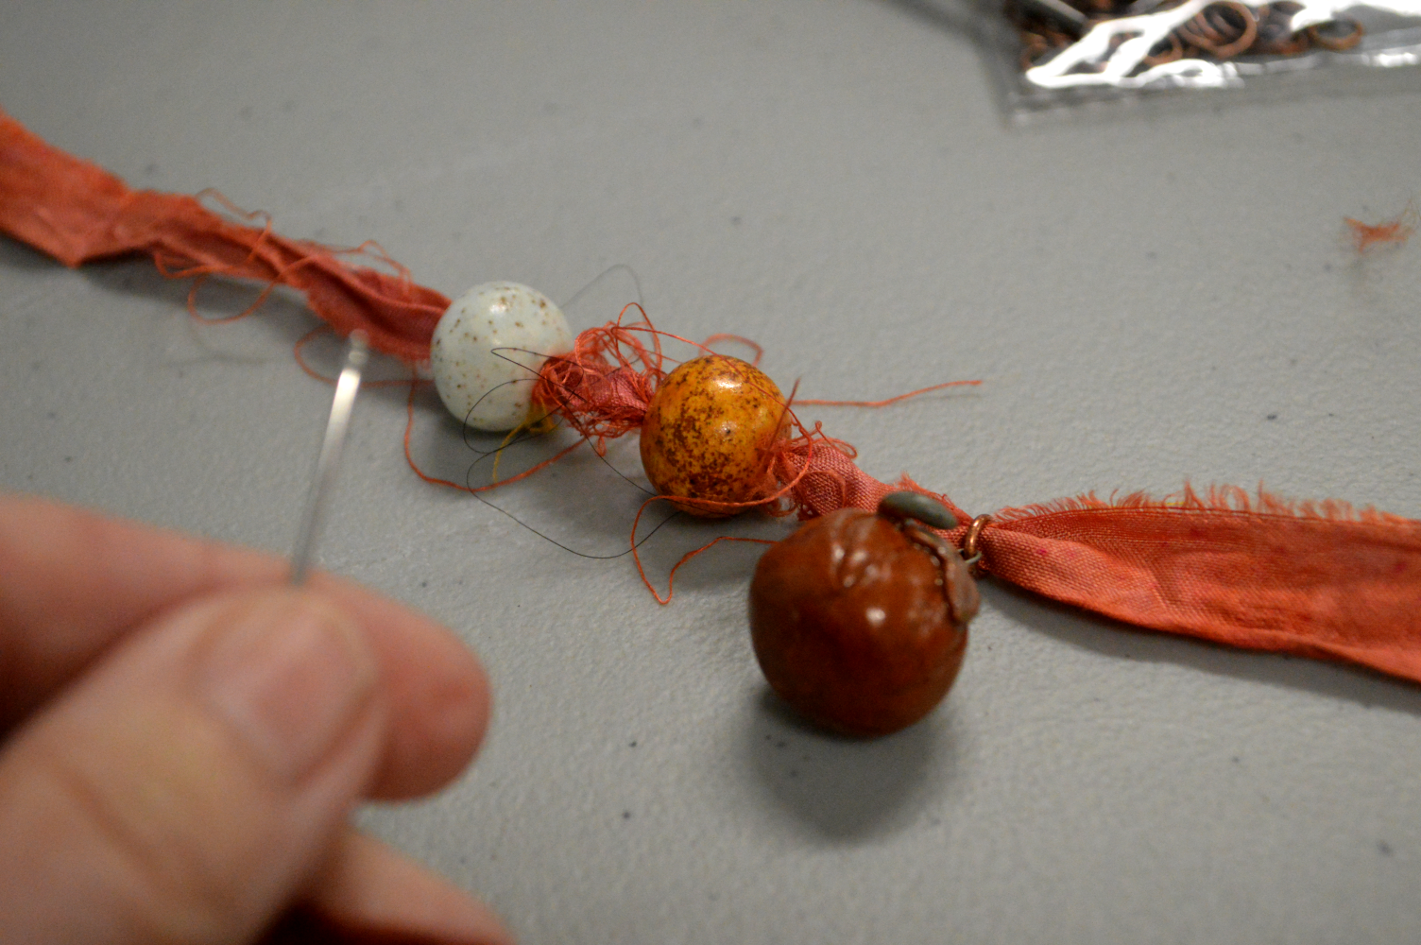
Put the tapered end through a large eye tapestry needle ....

... and begin stringing your beads. Start with the bead you want to be the first one on the right side (when looking at the necklace lying on the table).

I have a pumpkin focal bead on mine, so I put a jump ring on it ....

... and strung it on, followed by the last two beads.

Next, put a jump ring on the clasp.

Put one end of the ribbon through the clasp's jump ring ...

... fold it down about one inch ...

... and sew in place.

Do the same with the other end of the ribbon, using a jump ring. I used a slightly larger one than I normally do since it has the ribbon going through it and still needs room for the clasp to easily hook onto.

Now you can take all those loose strings off!

And voila, you have a necklace! Okay, anyone on my gift list, don't finish reading this sentence - these would make great gifts, right?
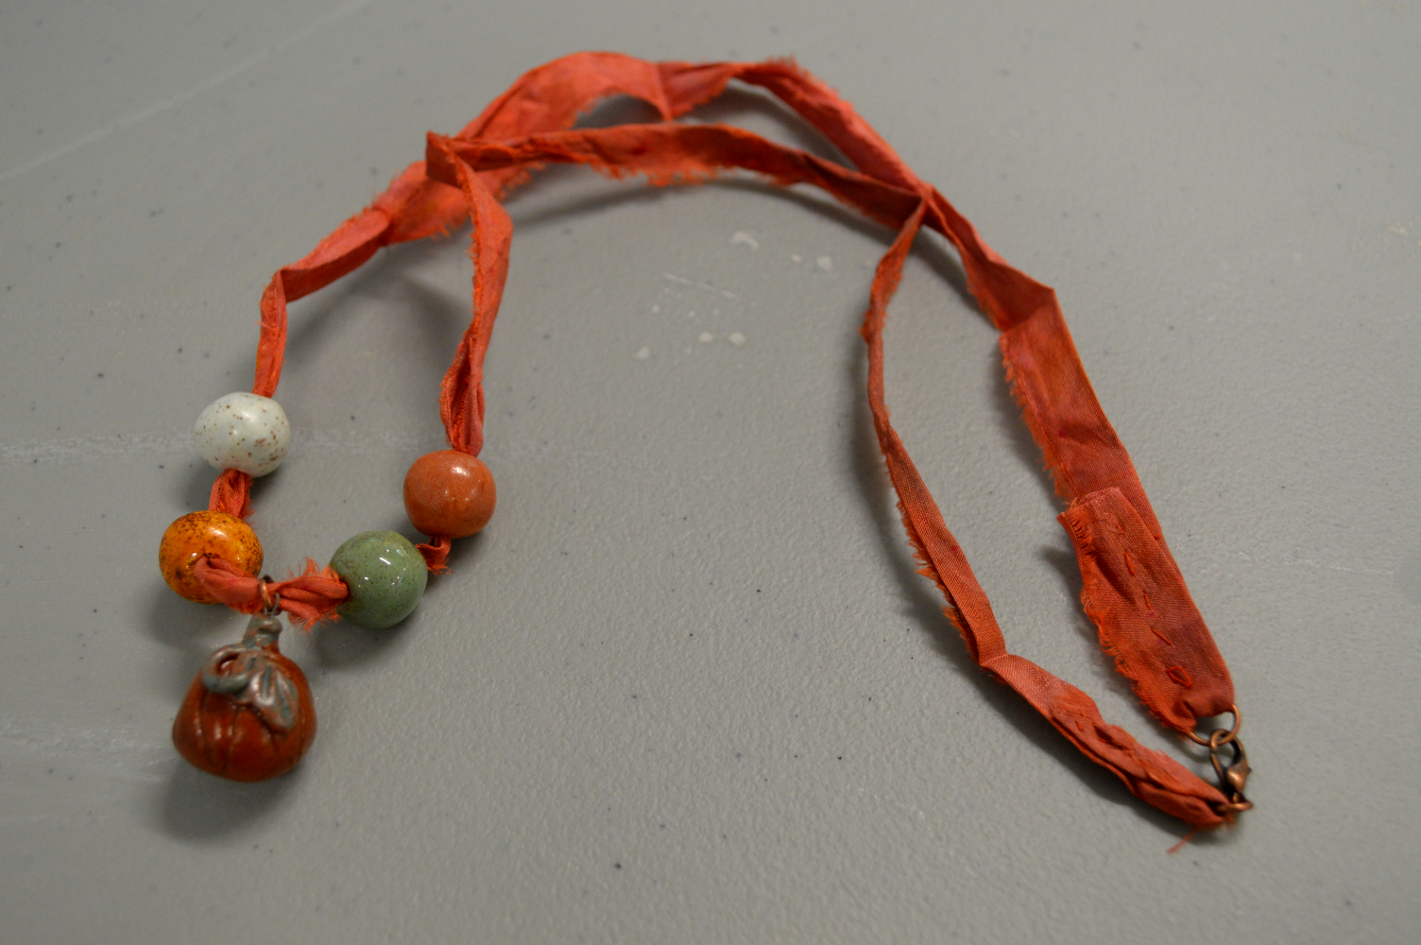
I have a few of these pumpkin bead sets left in the shop and am hard at work on several sets for the winter collection!
Happy Creating! Deborah
No comments:
Post a Comment