Wednesday, May 30, 2012

Wednesday Sewing - Denim Crazy Quilt


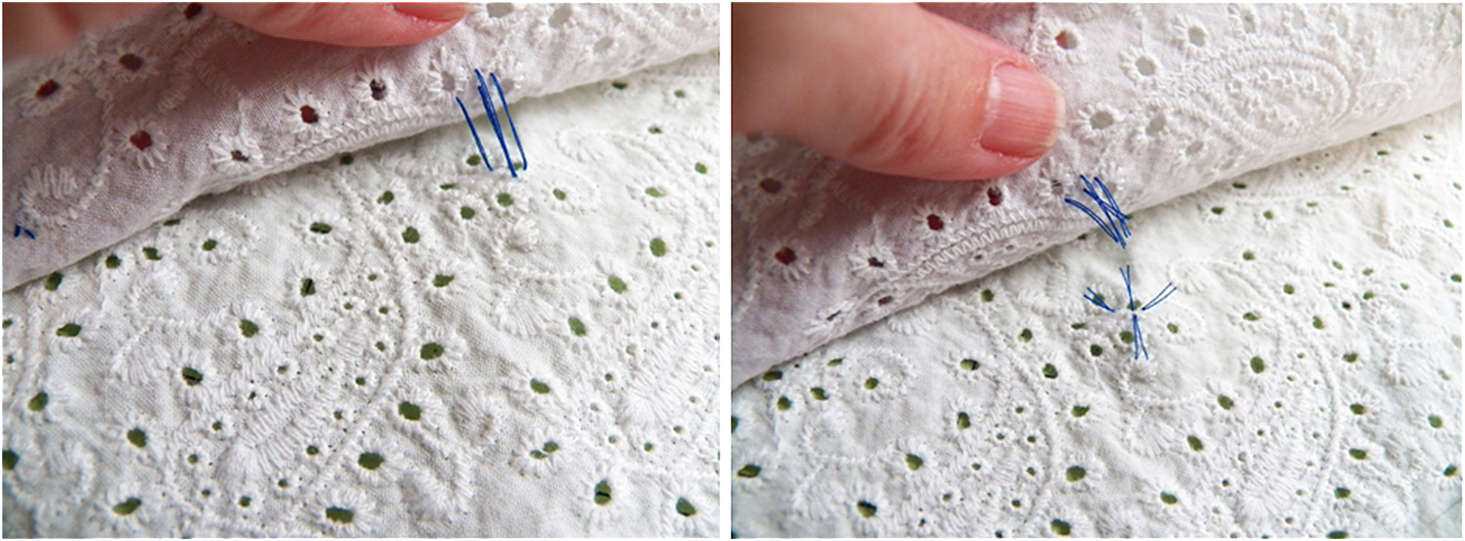
Okay - I'm still working on denim crazy quilting!  I've wanted to make a whole crazy quilt from denim for awhile now.  Something that can actually be used and easily washed - I wasn't sure hand embroidery, beading, etc. would work for that.  However, after making the denim placemats last weekend, I decided to make a quilt using some of the same techniques.  I'm taking advantage of all the decorative stitches my machine has and am using machine stitching over the seams.  And sewing on lace and patches that can take machine washing.


These are the first two I've done.  I'm not totally sure they're finished, though.  I'm just so used to crazy quilt squares being heavily embellished and these look a little plain!  I think I'll wait until I have several done, sew them together and see what they look like with neighbors.


If you're new to making crazy quilt squares, see this past post.

Happy Creating!  Deborah

Monday, May 28, 2012

Monday Project - Denim Placemats


I've been playing around with the idea of denim crazy quilt squares, since I have a huge pile of old jeans to do something with.  The squares are still works in progress, but I made denim placemats in a crazy quilt design that I love!  If you're not familiar with how to put crazy quilt squares together, see this past post.

Materials:
*various colors of denim - real thick, heavy denim doesn't work well for this project because of the thick seams you'll get
*optional scraps of contrast fabric - I had some denim that looks like it has a lacy overlay
*backing muslin
*backing fabric
*about 5 yards of bias tape

1.  Cut rectangles of backing fabric - I made my placemats 12 by 18 inches.


2.  Sew your first piece of denim onto the center of the backing fabric.  I use a larger stitch (not quite basting length - in between basting and regular) so it's easier to take off if I don't like where I put the pieces or if I end up putting them on the wrong way.  Which happens every time I crazy quilt!


3.  Add the rest of your pieces one at a time and pressing after each addition.


4.  On the right side, sew on top of each seam with a decorative machine stitch.


5.  Cut a piece of backing fabric, line up with the crazy quilted side, and baste the edges together.  These placemats are reversible, so you can either back it with another crazy quilted piece or a coordinating fabric.  I used the same white on white paisley print I made the bias tape from.


6.  I like rounded corners ...


7.  Finish the edges with bias tape.  See this past post for how to make it yourself and how to attach it.


Happy Creating!  Deborah

Friday, May 25, 2012

Friday Inspiration - Denimu

I'm gathering quite a pile of denim that needs reusing, so I spent some time winding my way through the web looking for ideas.  Hmmm ... nice potholders, cute formal gown, very creative cot, and ... omg!!  Even though I already feel that Fibers is one of the most creative areas of art today, I was totally unprepared and blown away when I found Denimu's denim collages.

A Blue Eye, denim on denim, 2012.

Denimu is the working name for British artist Ian Berry.  I have a few examples to show you today - just be sure to take a look at the rest of his work on his website.  It's stunning!

The Other Side of the Track, denim on denim, 2011.

Ian began working with denim after finding himself with a large stack of jeans that no longer fit.  And yes - his work is entirely from different shades of denim.  His artist's statement tells about his lifelong love of denim and how he began with the collages.

Busking, denim on denim.

And this is an interesting interview with him - I always love hearing artists talk about their work.


So now I'm inspired to tackle my own stack of denim!  They won't be lucky enough to become Denimu collages, but I am looking at the possibilities with new insight, now.

Happy Creating!  Deborah

Wednesday, May 23, 2012

Wednesday Sewing - Darts

When I work with vintage patterns, I'm always surprised by the number of darts!  Fashions were more fitted in the 50's and 60's and stretchy fabrics were just beginning to become available to the home sewer.  Darts do add to the time it takes to sew, but even though people are often intimidated by them, sewing darts isn't hard.

I've been working on the jacket and dress from this 1961 pattern - very challenging as body proportions seemed to be very different then!  Dress sizes were different (a size 10 pattern now is more like a 14 then), but it's not just a matter of making everything bigger.  I'm fairly short waisted and I've had to lengthen the torso and also had to widen the shoulders.  If you're using a vintage pattern, I highly suggest making it first from muslin, adjusting the muslin garment, and then taking it apart to use as a pattern on your nice fabric.

I use pattern paper and make new pattern pieces - the paper from vintage patterns is often getting pretty crumbly and it's also just nicer to leave something so old intact.  If you're not familiar with pattern paper, see this past post.

The darts are marked on your pattern by a triangle of dots. There are several ways to transfer these markings to your fabric.  I use thread - it doesn't leave a mark on the fabric and is easy.   


First, take a long length of sewing thread and thread it through the needle doubled - don't tie the end.


Leave your pattern piece pinned to the fabric.  Insert your needle under one of the dots, coming up on the other side (think of this as 12 o'clock and 6 o'clock).  Pull the thread through, leaving about a 2 inch tail.  Repeat - going under the dot in the 3 o'clock position and up at 9 o'clock.  This time when you pull the thread through, leave a loop.  Cut the thread off, leaving another 2 inch tail.  Snip the loop.


When you've marked all the dots in this way, carefully remove the pattern piece making sure the threads stay in the pattern.


Carefully lift the top piece of fabric up from the bottom piece a little.  Snip through the threads so that each piece of fabric has the thread markings.  Continue with all the dart markings.


To make a dart, with right sides of the fabric together, line the dots on each side of the dart up.  I do this by eyeballing them and then getting them in place by sticking a pin through one marking and coming out through the matching marking.  Pin in place.


To sew the dart, you want to sew through the center of each marking, gradually tapering down until you reach the point.  The pattern piece usually has a line marking where to do this and you can transfer it with pattern marking paper and a marking wheel.  It's easier for me to just eyeball it as I'm sewing, but when you're first making darts an actual line can be helpful.  You can use a straight edge to mark this with a light pencil line - this will be on the inside of the fabric, so it won't show.


Always begin sewing a dart at the wide end and finish at the point of the dart.


Continue sewing until you actually run off the fabric.


You can tack the wide end of the dart by sewing back and forth a few stitches, but always hand tie the pointed end.


The sewing instructions will tell you which way to press the dart - usually you press darts down (for horizontal darts) or toward the center of the garment (for vertical darts).


On the outside of the garment, hold the piece up a little and press the pointed tip of the dart until it is smooth.


And you have a dart!  Like I said, time consuming, but not hard.


I'm still working on getting my dress to fit right - the jacket just needs the lining sewn in.

Happy Creating!  Deborah

Monday, May 21, 2012

Monday Project - Felted Pancakes


Okay - now pretend breakfast is complete when little c visits!  After several tries at pancakes, I've come up with felting them.  You can find a basic felting tutorial here.

Materials:
*light tan fleece - merino felts well
*small amount of yellow fleece
*felting materials - see basic felting tutorial

1.  Make three layers of pulled out fleece fiber - I made mine about 8 inches square.  Remember to alternate the direction of the layers.  Felt.


2.  After the stage where you rub the fleece with a wadded up plastic bag, add a small amount of yellow fleece (to represent butter) to the middle.  Put the sports shirt fabric on top and rub again.


3.  Trim felted squares into a rough circle.


4.  After rinsing, put the pancakes in the washer with soap and an old towel or pair of jeans. 


You'll end up with these great pancakes!


Happy Creating!  Deborah


Friday, May 18, 2012

Friday Inspiration - Joy Kampia O'Shell

One of my sons recently introduced me to the website of an amazing crochet artist, Joy Kampia O'Shell.  There should be a warning here - viewing her site may cause you to become very hungry!  Joy learned to crochet in the 10th grade from a teacher at school, reinforcing that you never know how far the kids you teach a fiber art to will run with it.  After graduating with a studio art degree, she turned her main artistic focus to crocheting fiber art sculpture.  Her artist statement is definitely worth a read.

Dinner for Eight is a complex piece of eight complete dinners - all crocheted, along with the table settings.  There's just something so cool about dinner artwork - probably because dinner's the highlight of my day! 

Dinner for Eight, April 2005

After spending time this week on new felt food for the play kitchen, I especially liked Breakfast Meal

Breakfast Meal, April 2005

Hamburger Dress, April 2005


Joy's website has a lot of fun pieces to spend time examining!  But wait .... she doesn't just create food.  She also crochets clothing that is food.  Really!  You have to go look at the sundae dress!  I love her hamburger dress - fyi, it is sold and she doesn't make copies of her art.


Very inspiring - and yes, it does make us hungry!

Happy Creating!  Deborah

Wednesday, May 16, 2012

Wednesday Sewing - Felt Eggs and Bacon


With little c coming for a visit, I decided to add to the felt food I made last fall for the play kitchen.  The tutorials for that bunch of food start here.  Breakfast was lacking, so I went for bacon and eggs!  These are pretty quick to make.  I used a blanket stitch and 3 strands of floss throughout.

Materials:
*felt - dark red, tan, white, and yellow
*matching embroidery floss
*tiny amount of fiber fill stuffing
*you can free hand the shapes or use these patterns

1.  Cut out all the shapes.


2.  Sew the yolks onto the tops of the eggs - put a little fiber fill stuffing inside the yolk before it's fully sewn on.


3.  Sew the bottoms on the eggs, pulling the stitches a little bit tighter than you usually would to give the edges a little curl.


4.  Sew the fat onto the bacon tops.


5.  Sew the bacon tops onto the bacon bottoms, pulling each stitch tight so that the bacon curls.


Now we just need some pancakes!

Happy Creating!  Deborah

Monday, May 14, 2012

Pineapples ... and Pineapple!


I recently finished a cute little pineapple doily ...


Very vintage looking - the instructions are free on the Coats and Clark website here. The instructions call for Aunt Lydia's bamboo thread, but I used the regular old size 10 cotton to give it a more old fashioned look.

I'm a little crazy about pineapples - crocheted and the food!  When I organized my crochet books it turns out I've ended up collecting several on pineapple crochet - time to get busy!  I love this scarf made from gorgeous Malabrigo Silky Merino. 


The instructions are in this Japanese crochet book - and here's a picture of the scarf lengthwise.  Even if you don't speak Japanese, you can follow the pictorial instructions that are always included.  Sometimes it's a little bit of a guess as to what type of thread/yarn and hook to use,though!

ISBN no. 978-4-8347-2524-7

And the other pineapple ...


I was reminded today that I've baked them before eating for so long, I forget that not everyone knows about the benefits.  I happen to be one of those people that pineapple causes to get an uncomfortably tingly, sore mouth - it's not an allergy, but is related to being allergic to grass and ragweed.  If you bake it first, all that is avoided.  I just slice it up, lay it on a cookie sheet, and bake at 350 degrees for about a half hour - until the pineapple turns golden brown.  You can sprinkle a little brown or raw sugar on top first, but it turns out extra sweet even without it.


Happy Creating!  Deborah

Friday, May 11, 2012

Friday Inspiration - Family


I come from a long line of women (and men) who worked with fibers.  Growing up, we used crocheted and embroidered linens, doilies, quilts, and home sewn clothing.  I viewed these arts as something everyone did and it was only in my adulthood that I realized how wonderful my fiber and fabric rich upbringing was!  I learned to embroider, sew, and quilt early on and always think about my grandmothers and mother and the different pieces they worked on every time I'm creating my own.  So when the professor of the fibers class I took last semester told us she wanted our final projects to focus on communities and how we fit into them, I immediately knew I wanted to do something that spoke of my family of fiber workers.

This is My Sewing Circle.  It's a circle (originally I thought of making a cowl, so it's based on that idea) of felted medallions on which I've heat transferred photographs of people in my family who inspire me in my own work.  These are my grandmothers, my great-grandmothers, a great-grandfather, my mother and mother-in-law, and the next generations that are continuing the traditions - my daughters-in-law,  granddaughter, and a niece.  I used the circle design to show how their inspirations are past, present, and future - the traditions continue, connecting many generations.


The medallions are felted alpaca - I found that gave a smoother surface for the transfers than several other wools I tested.  I crochet netted them together with finely hand spun white and black corriedale wool.  This is a technique I've been  learning for awhile now - I'm working on a tutorial on how to do this with a smaller project!


This is my maternal grandmother, Adeline, known to everyone as Nana.  She knitted, crocheted, embroidered, quilted, sewed .... I'm probably missing something!  She was always working on something.  I learned to hand sew from her - felt clothes for my little troll dolls.  


And I made my first quilt with her - a small, tied doll quilt when I was about eight years old.  She made me this appliqued butterfly quilt when I was a baby!


In coming posts, I'll introduce you to other grandmothers, great-grandmothers, and a great-grandfather.

Happy Creating!  Deborah